Hexo 博客搭建
之前博客的域名和服务器都过期了,续费太贵了。找了一下发现可以使用 Hexo + Gitee/Github 搭建博客,免费。
Hexo 文档:https://hexo.io/zh-cn/docs/
环境搭建
环境搭建:
- Gitee Pages 服务 / GitHub
- Hexo 静态博客框架
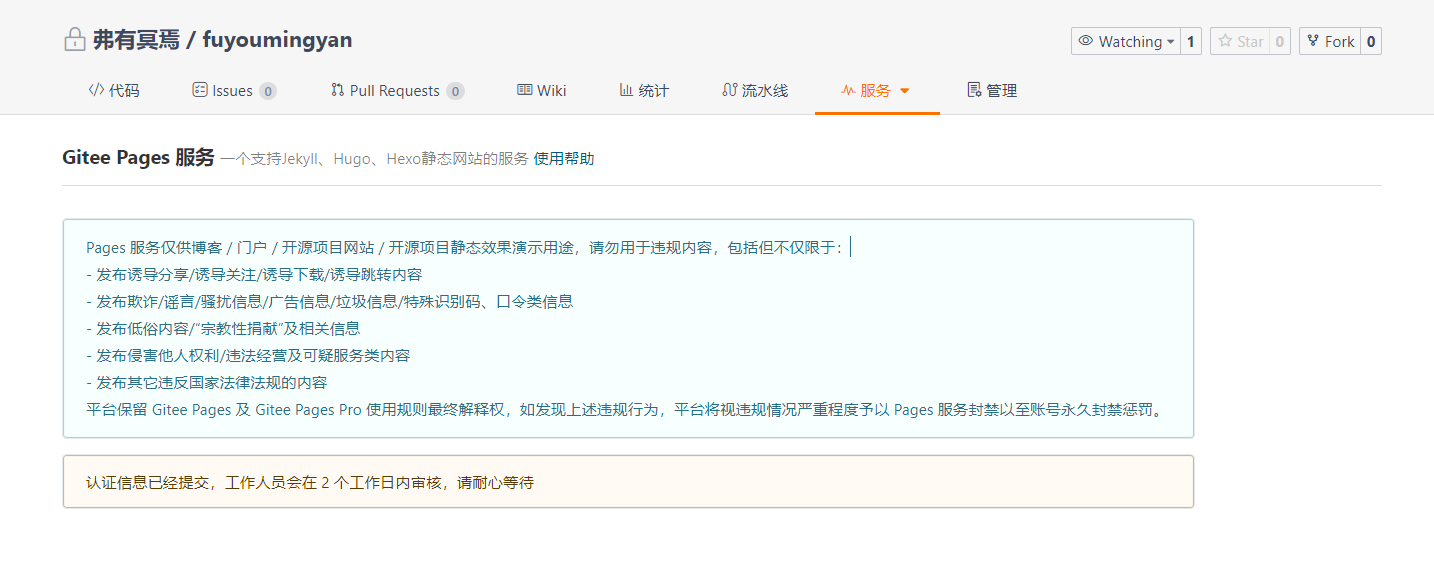
Gitee Pages 服务
在 Gitee 上创建一个和用户名相同名字的仓库,然后点击 "服务" -> Gitee Pages 进行申请。
GitHub Pages
github 不需要审核,由于 github 的原因,打开速度可能会有点慢,不过其实影响不大。
创建一个 公开的 ,名字为 username.github.io 的仓库即可,比如:

SSH 公钥配置
Hexo 搭建
搭建流程:
- 安装 Node.js
- 使用 npm 安装 Hexo
1.安装 Node.js
官网:https://nodejs.org/zh-cn/
2.安装 Hexo
打开 Git Bash 或者命令窗口,使用 npm 安装 hexo。
初始化博客
启动博客
每一次启动都需要执行这 3 个命令,可以把它们放到一个 sh 脚本中,之后直接运行即可。
安装主题
Fluid 主题配置:https://hexo.fluid-dev.com/docs/
1.下载主题
2.覆盖配置
复制 _config.yml ,重命名为 _config.fluid.yml ;
3.修改Hexo配置
修改 _config.fluid.yml:
4.修改主题配置
themes\fluid 目录下的 _config.yml;
修改同上;
5.创建关于页面
图床搭建
Hexo 对于图片很不方便,直接搭建图床即可,费用便宜有不费事。
使用工具:
- 腾讯云 COS ( 对象存储服务 )
- PicGo ( 图床 )
- Typora
腾讯云 COS
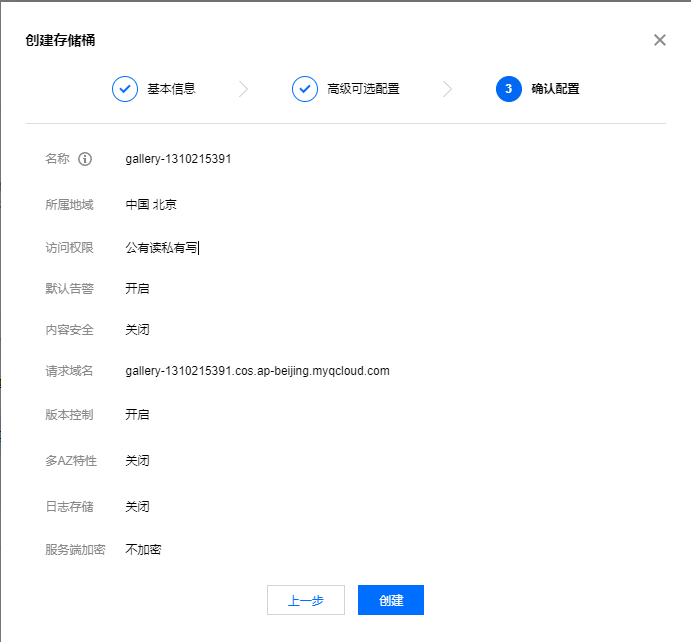
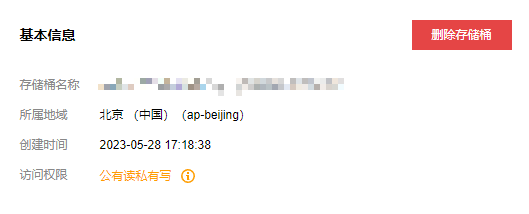
1.创建存储桶
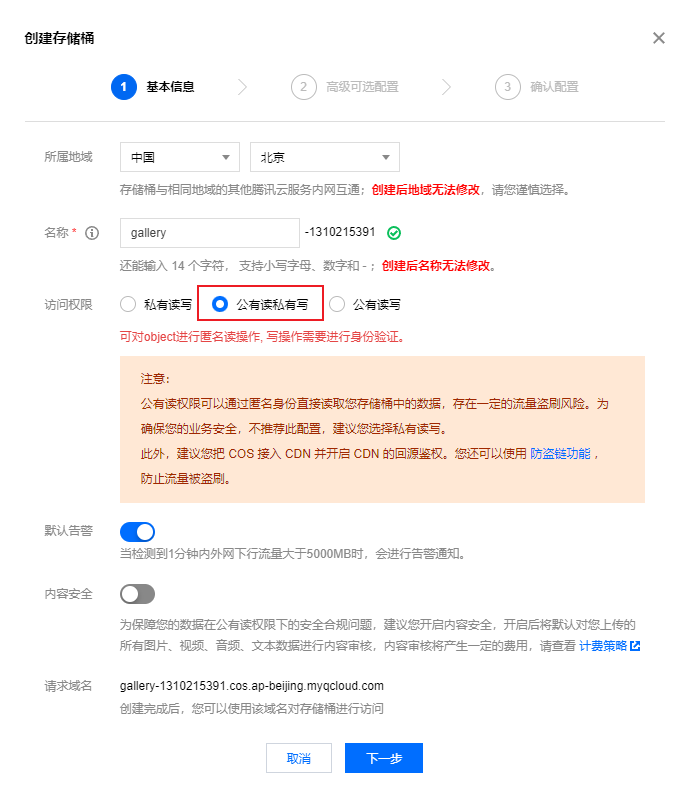
之后有域名开启防盗链。
2.购买资源包
资源包有 3 种,这里关注的主要资源是 存储容量 和 流量 。
读写请求 可能在这种情况下相对较低,因为你主要是上传和下载图片文件。

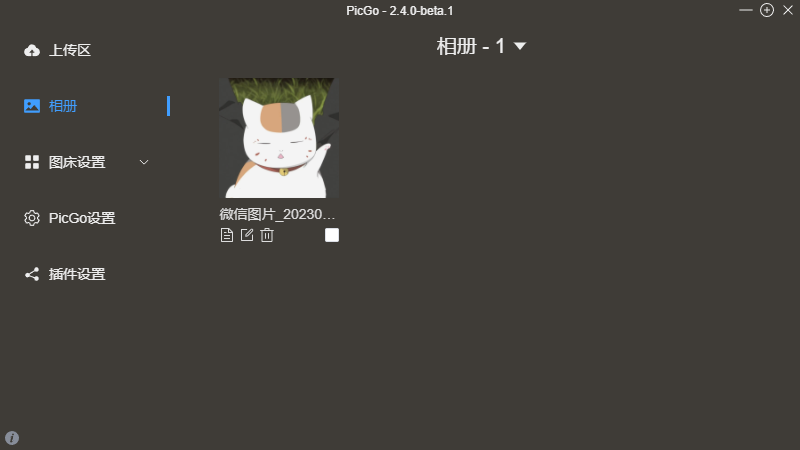
PicGo
官网:https://molunerfinn.com/PicGo/
图床设置 -> 腾讯云 COS
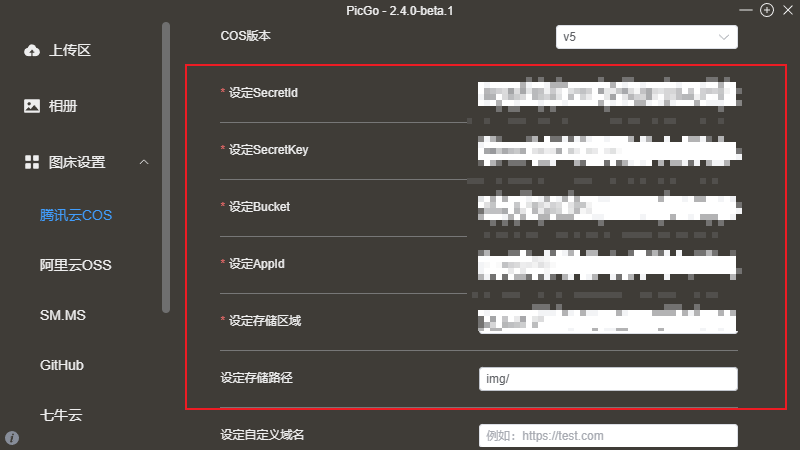
AppId、SecretId、SecretKey:API 密钥管理
Bucket :存储通名称
上传图片测试即可。
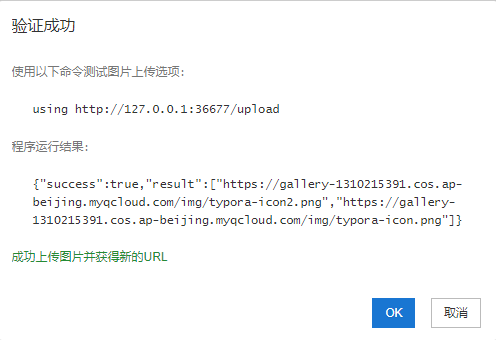
typora
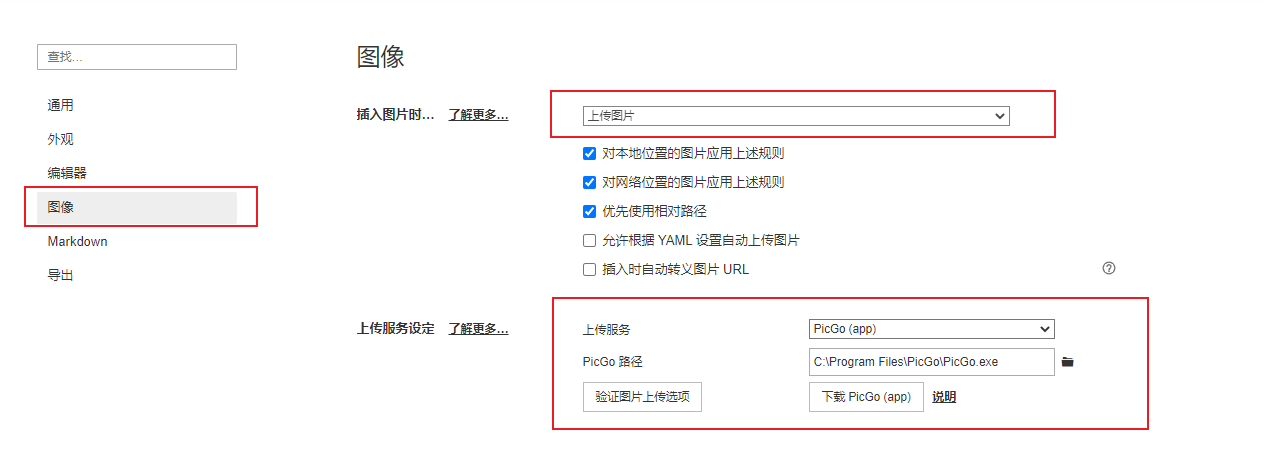
验证图片上传选项:
文章书写
- 先在 typora 上写完,在复制到
source\_posts目录即可 ( md 文件 ) - 使用
hexo new 文章名在source\_posts下创建文章,在书写
可以本地书写,然后使用 hexo 创建文章,文章最好是英文名称,然后在把本地的替换掉即可
Front-matter 常用参数:
部署上线
推送上去后,可能不会立即生效,过一会刷新一下网页就好了。
优化使用
部署这里可以使用 shell 脚本来完成,安装了 git 后,在 windows 环境下也是可以运行 shell 脚本的。
在本地部署站点 server.sh :
推送到线上 publish.sh :